January 18, 2024 4 Minute Read Nosto and Tapcart launch new integration, helping Shopify brands boost mobile sales with personalized shopping experiences Read more
September 22, 2022 5 Minute Read Consumer Research: 61% of Fashion Shoppers Put Price Above Sustainability as Living Costs Rise Read more
June 26, 2025 4 Minute Read Nosto recognized in 2025 Gartner® Magic Quadrant™ for Search and Product Discovery for the second year running Read more
May 8, 2025 6 Minute Read How to optimize your Shopify checkout for conversions and customer trust Read more
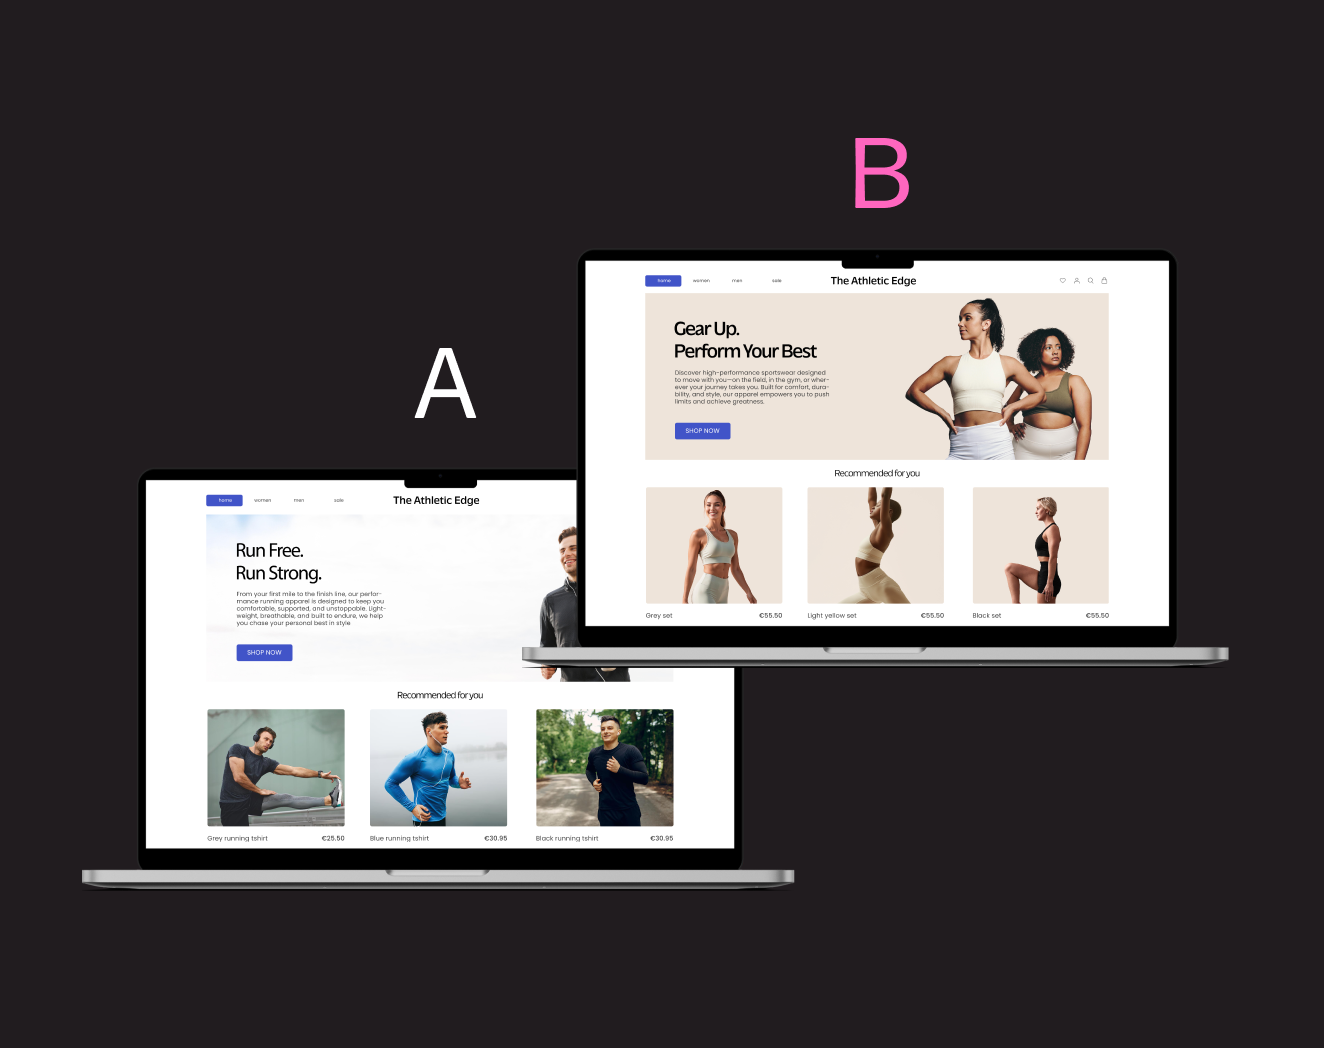
April 2, 2025 9 Minute Read Beyond the Basics: Advanced A/B Testing Strategies for Ecommerce Growth Read more
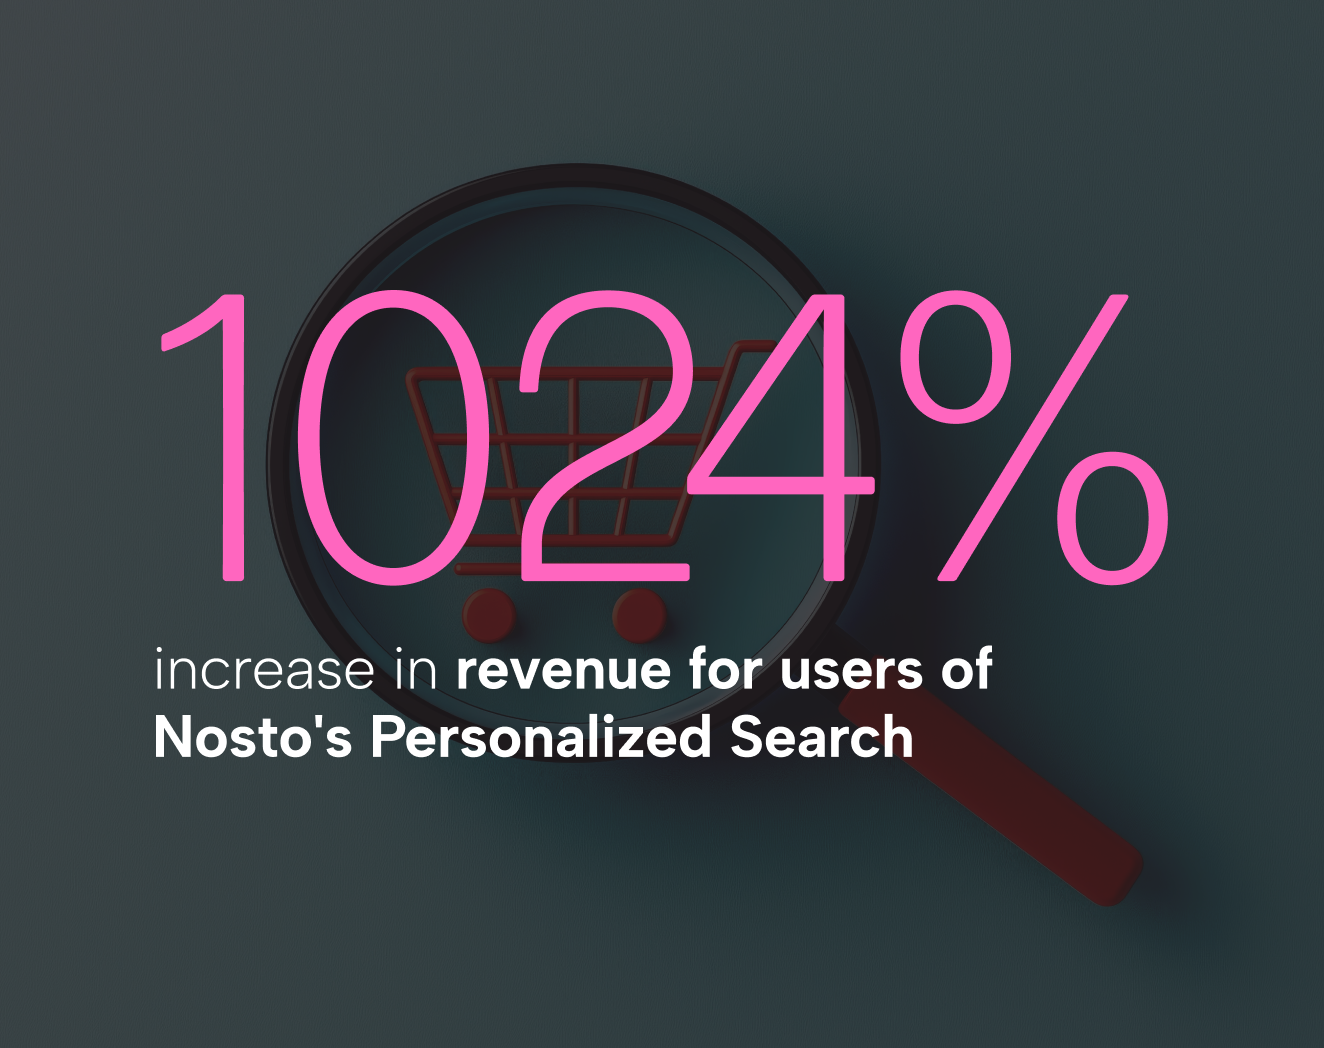
March 27, 2025 3 Minute Read Nosto reports 323% growth of Personalized Search after 2024 Gartner MQ inclusion Read more
March 21, 2025 5 Minute Read Why Bad UX Is Killing Your Ecommerce Sales (and How to Fix It) Read more
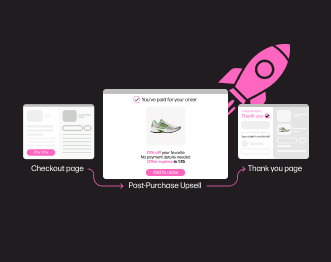
June 24, 2025 5 Minute Read Grow AOV & profit with Post-Purchase Upsell for Shopify checkout Read more
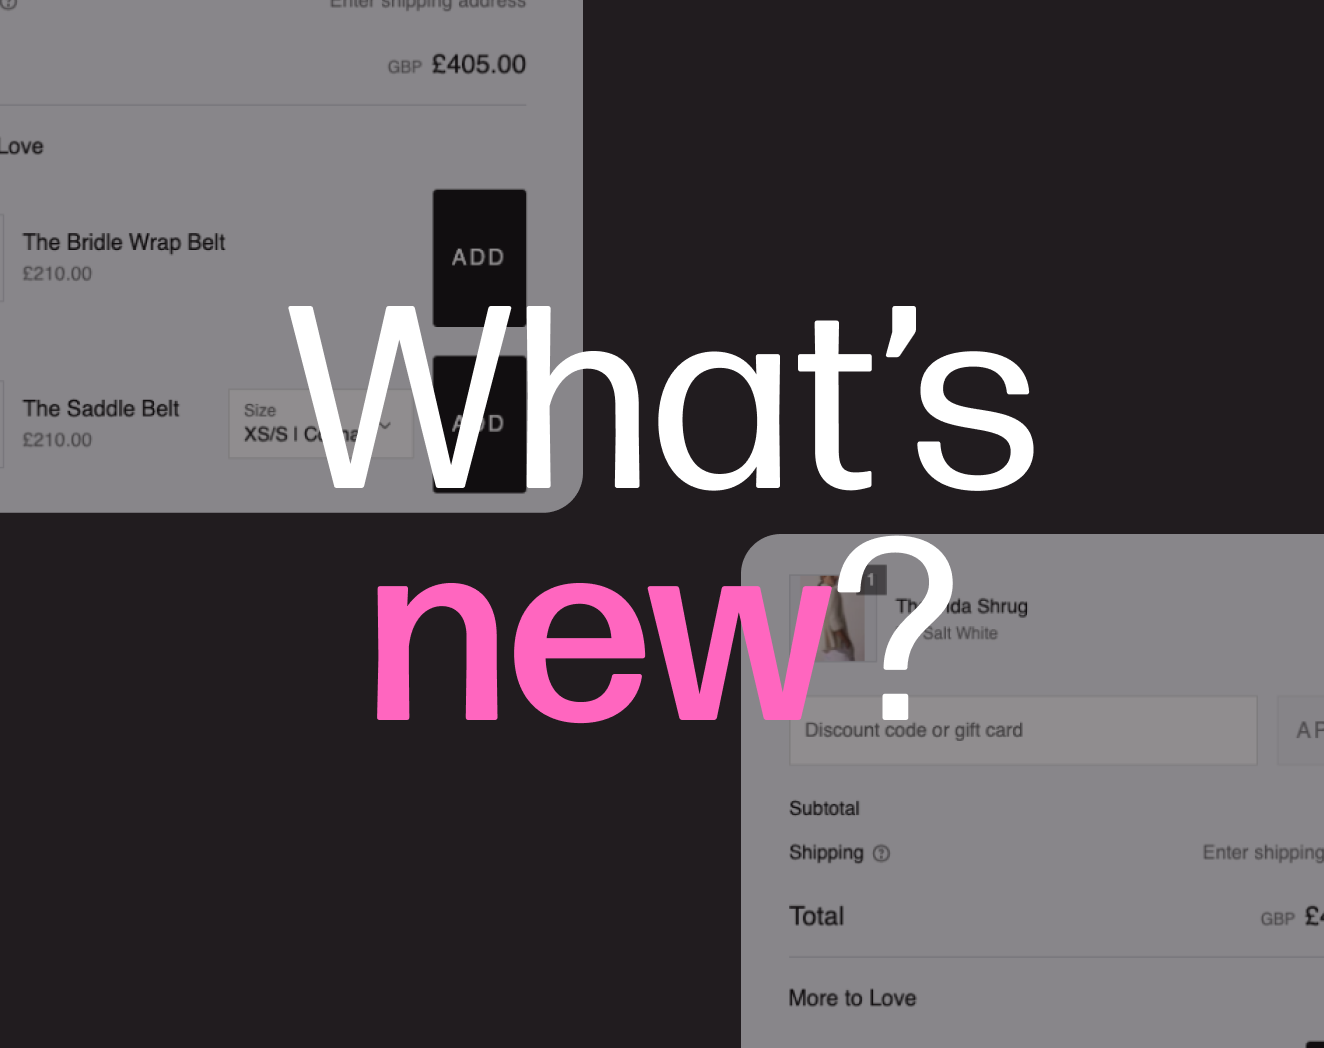
March 12, 2025 4 Minute Read What’s new in Nosto: Recommendation Extensions for Shopify brands Read more
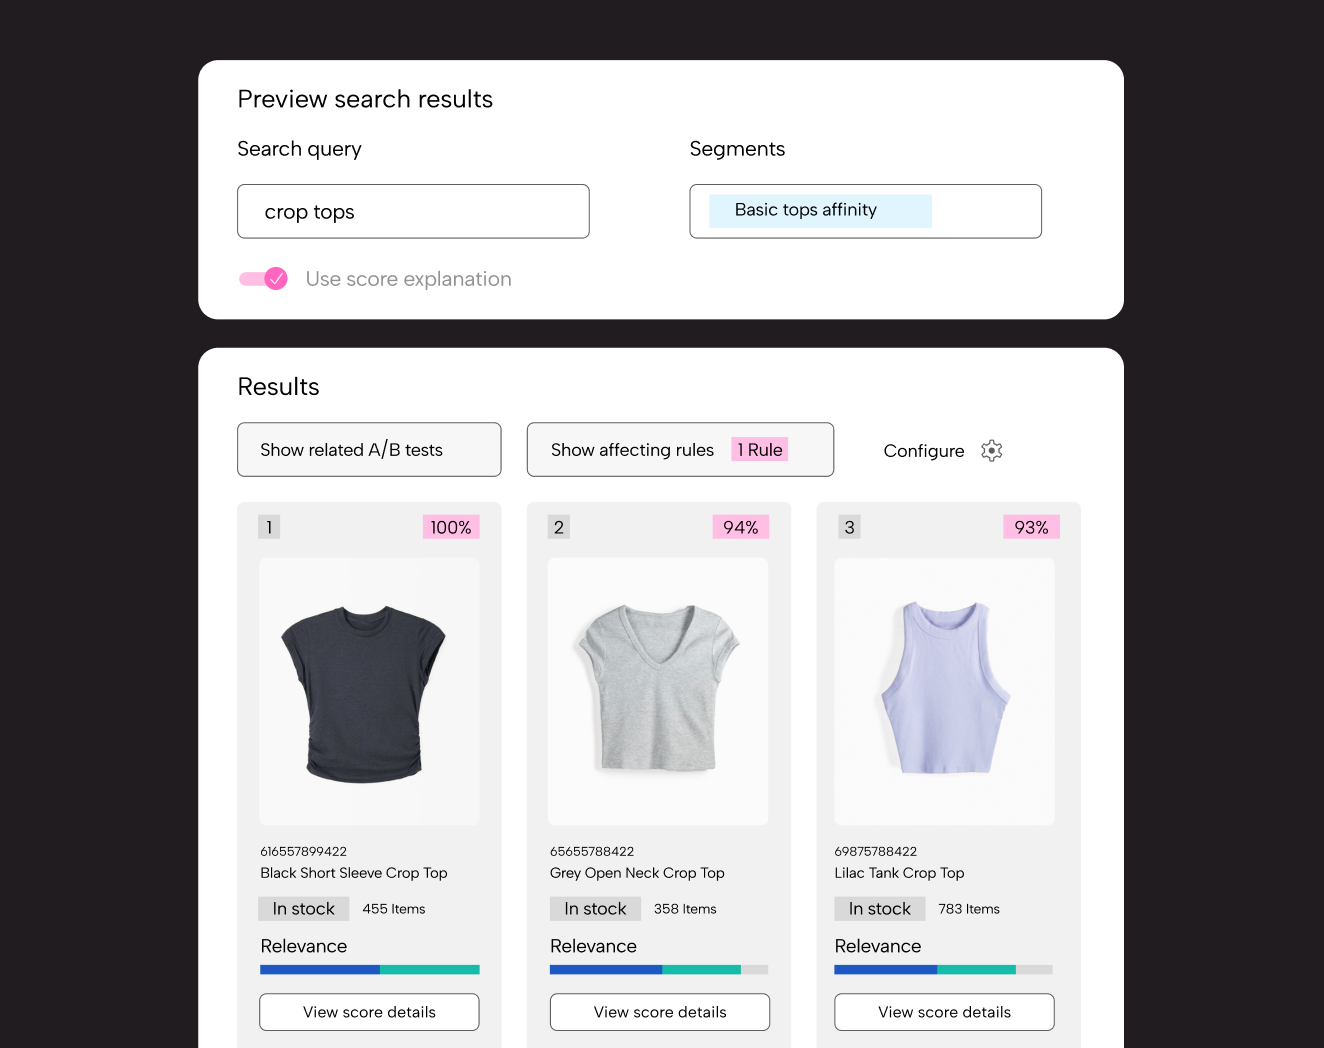
February 11, 2025 6 Minute Read What’s new in Nosto: Score insights—discover what impacts your product visibility & optimize for business needs Read more
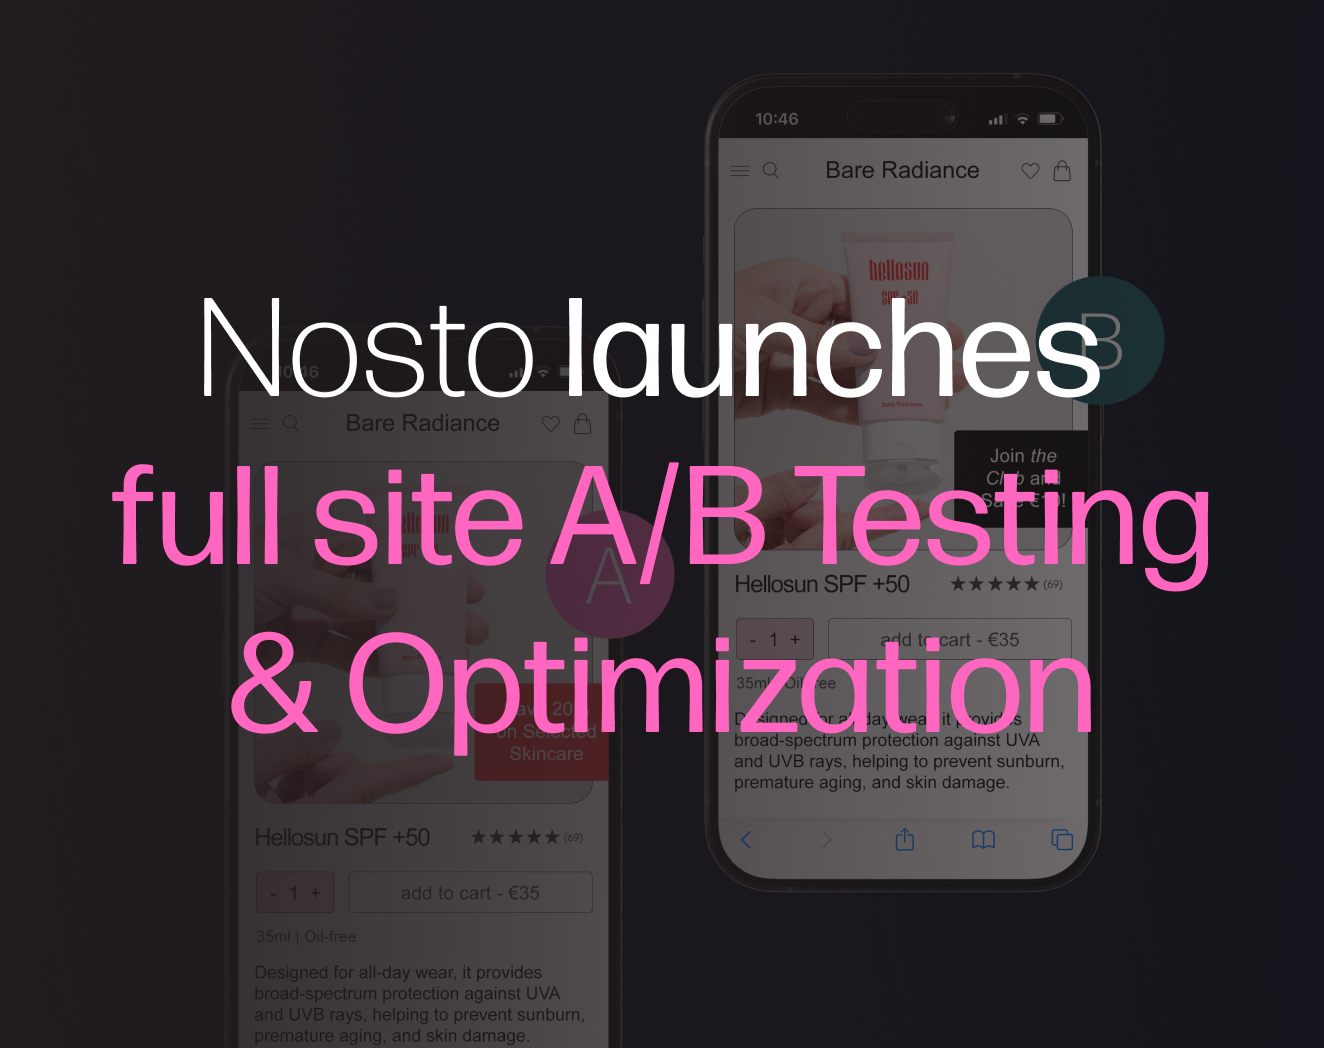
January 29, 2025 3 Minute Read Nosto launches full site A/B Testing & Optimization, helping brands dive deeper into CRO Read more
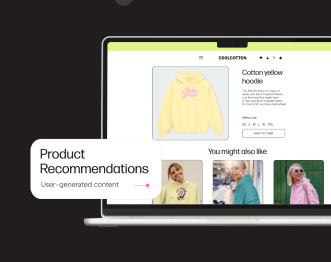
November 29, 2024 4 Minute Read What’s New in Nosto: Enriching Product Recommendations with User-Generated Content Read more
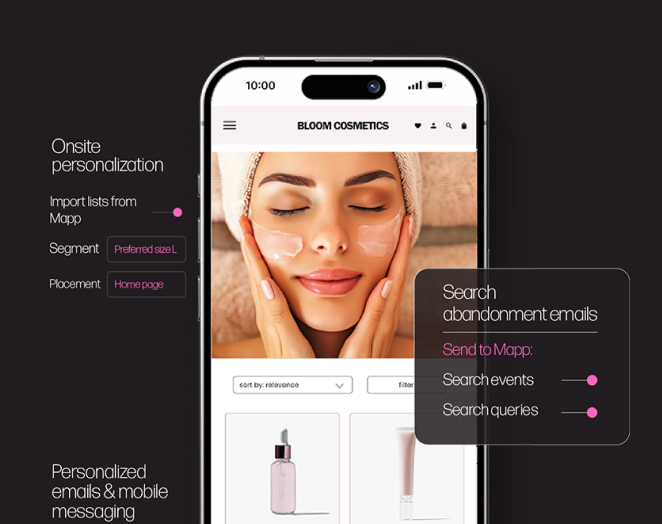
September 16, 2024 4 Minute Read What’s new in Nosto: Scaling ecommerce growth with Mapp & Nosto’s hyper-personalized customer journeys across channels Read more
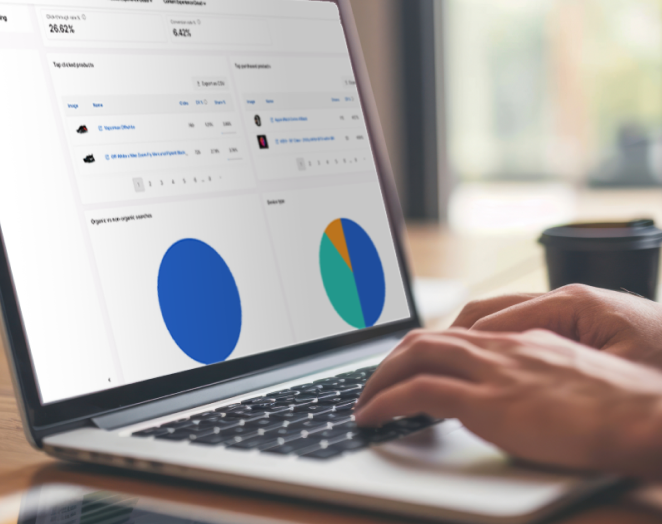
June 27, 2024 6 Minute Read Site search analytics: key metrics to follow for driving business growth Read more
March 19, 2024 5 Minute Read What’s new in Nosto: Enhanced Klaviyo integration for hyper-personalized shopping experiences across channels Read more
June 26, 2025 4 Minute Read Nosto recognized in 2025 Gartner® Magic Quadrant™ for Search and Product Discovery for the second year running Read more
June 24, 2025 3 Minute Read Nosto launches AI-powered Post-Purchase Upsell for Shopify’s market-leading checkout, early adopter sees 58% AOV boost Read more
May 21, 2025 4 Minute Read Nosto announces full compatibility with Hyvä Theme to deliver lightning-fast, personalized shopping experiences for Magento brands Read more
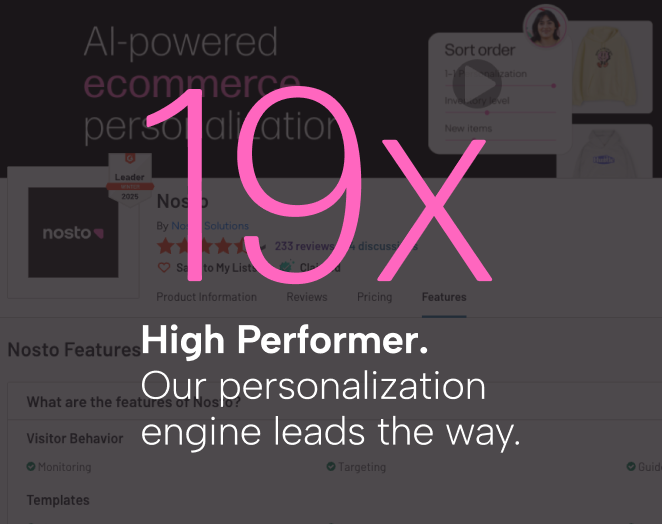
April 16, 2025 3 Minute Read Nosto’s personalization offering named ‘High performer’ for the 19th consecutive time by global software reviews site, G2 Crowd Read more
March 27, 2025 3 Minute Read Nosto reports 323% growth of Personalized Search after 2024 Gartner MQ inclusion Read more
February 6, 2025 3 Minute Read Shopware leverages Nosto’s Personalized Search technology to launch new ecommerce search solution Read more
January 29, 2025 3 Minute Read Nosto launches full site A/B Testing & Optimization, helping brands dive deeper into CRO Read more
November 1, 2024 5 Minute Read 30% of Holiday Shoppers to Spend More if Their Chosen Presidential Candidate Wins, Research Reveals Read more
October 31, 2024 6 Minute Read Nosto’s Future of Work Policy: Providing flexible working options for all employees Read more
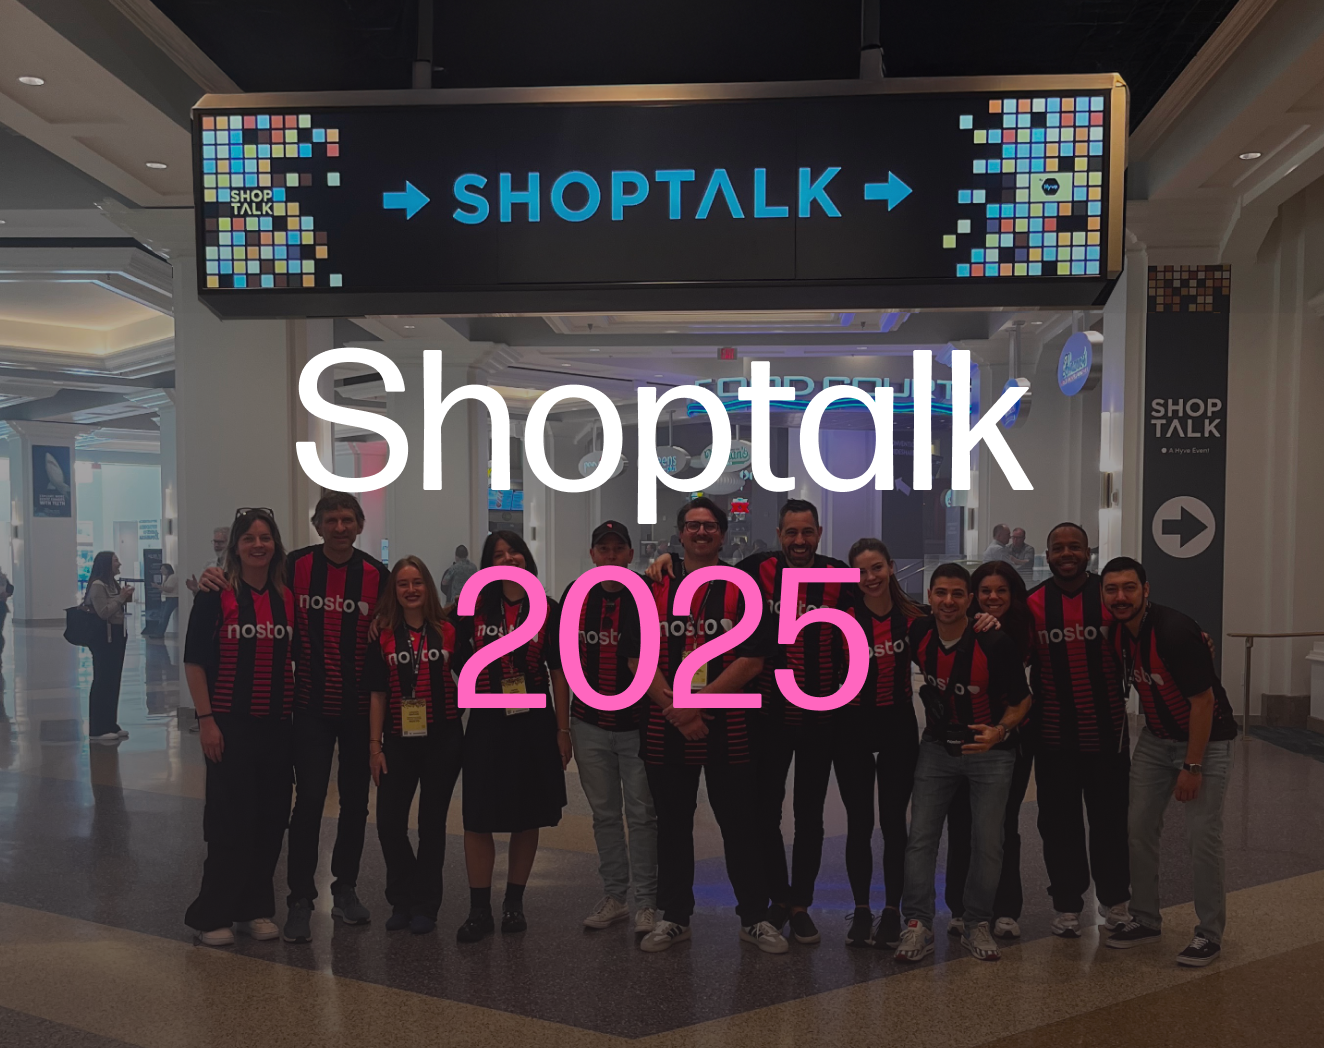
July 25, 2024 5 Minute Read Boosting Ecommerce Success: Key takeaways from NES Midsummer 2024 Read more
December 19, 2023 7 Minute Read Insights from ‘The Women’s Domain & The Rise of Social Commerce’ Panel Read more
October 19, 2023 8 Minute Read A look-back at Nosto’s Ecommerce Expo session: talking ‘intelligent product discovery’ with clients, Dermalogica, and Casio Read more
June 3, 2024 11 Minute Read New research: How international ecommerce brands can combat hesitations of cross-border shoppers Read more
March 26, 2024 2 Minute Read Introducing the Nosto Customer Community: Elevating our Clients’ Experience with us Read more
April 7, 2022 6 Minute Read Consumer Behavior Stats 2021: The Post-Pandemic Shift in Online Shopping Habit Read more